Power meter zero offset needs its own setup record
By Mr.Apps · Nov 3, 2026
Category:Training
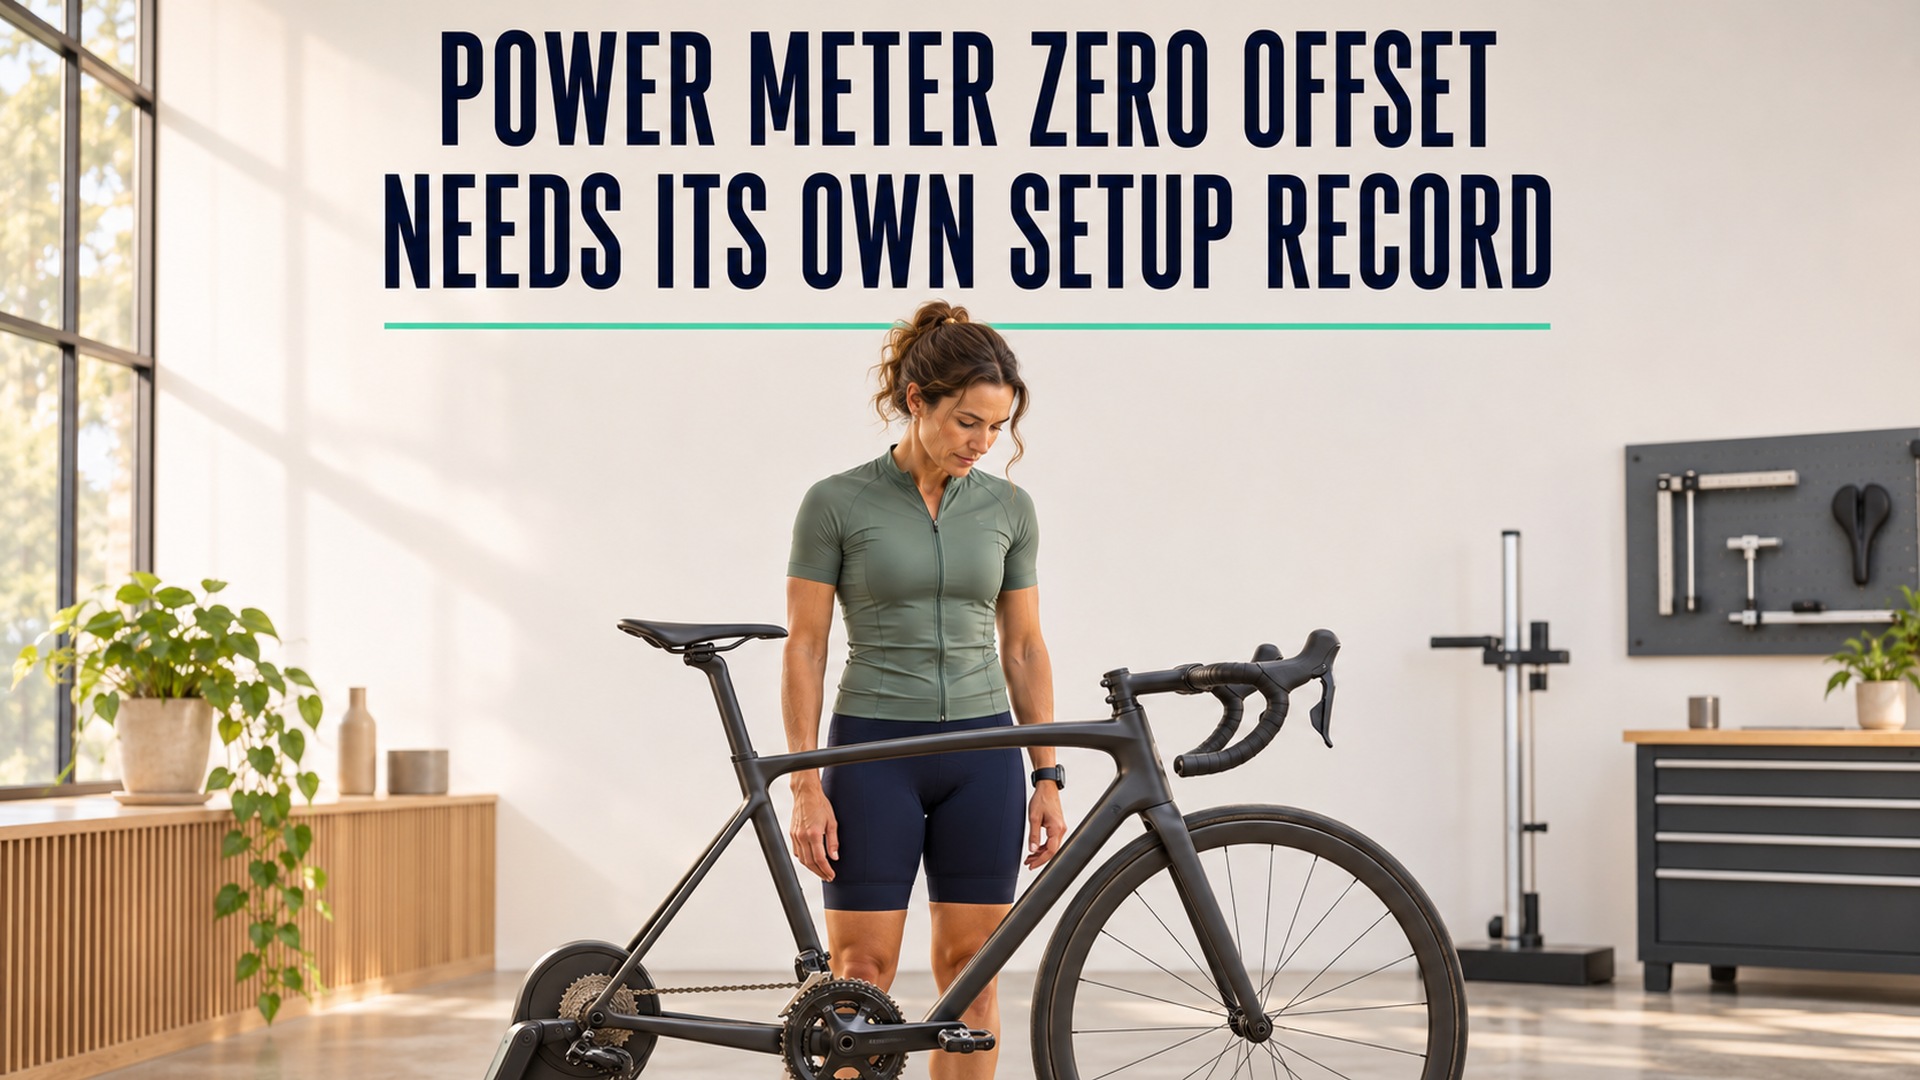
A zero offset is a setup reading
A power meter zero offset belongs in a setup record because it describes the sensor's unloaded baseline at a particular moment. It is not a training target, a correction factor that a rider should invent, or a guarantee that every later watt reading is correct. The procedure lets a compatible device update or check the value it treats as zero load. The exact steps depend on the meter and its instructions.
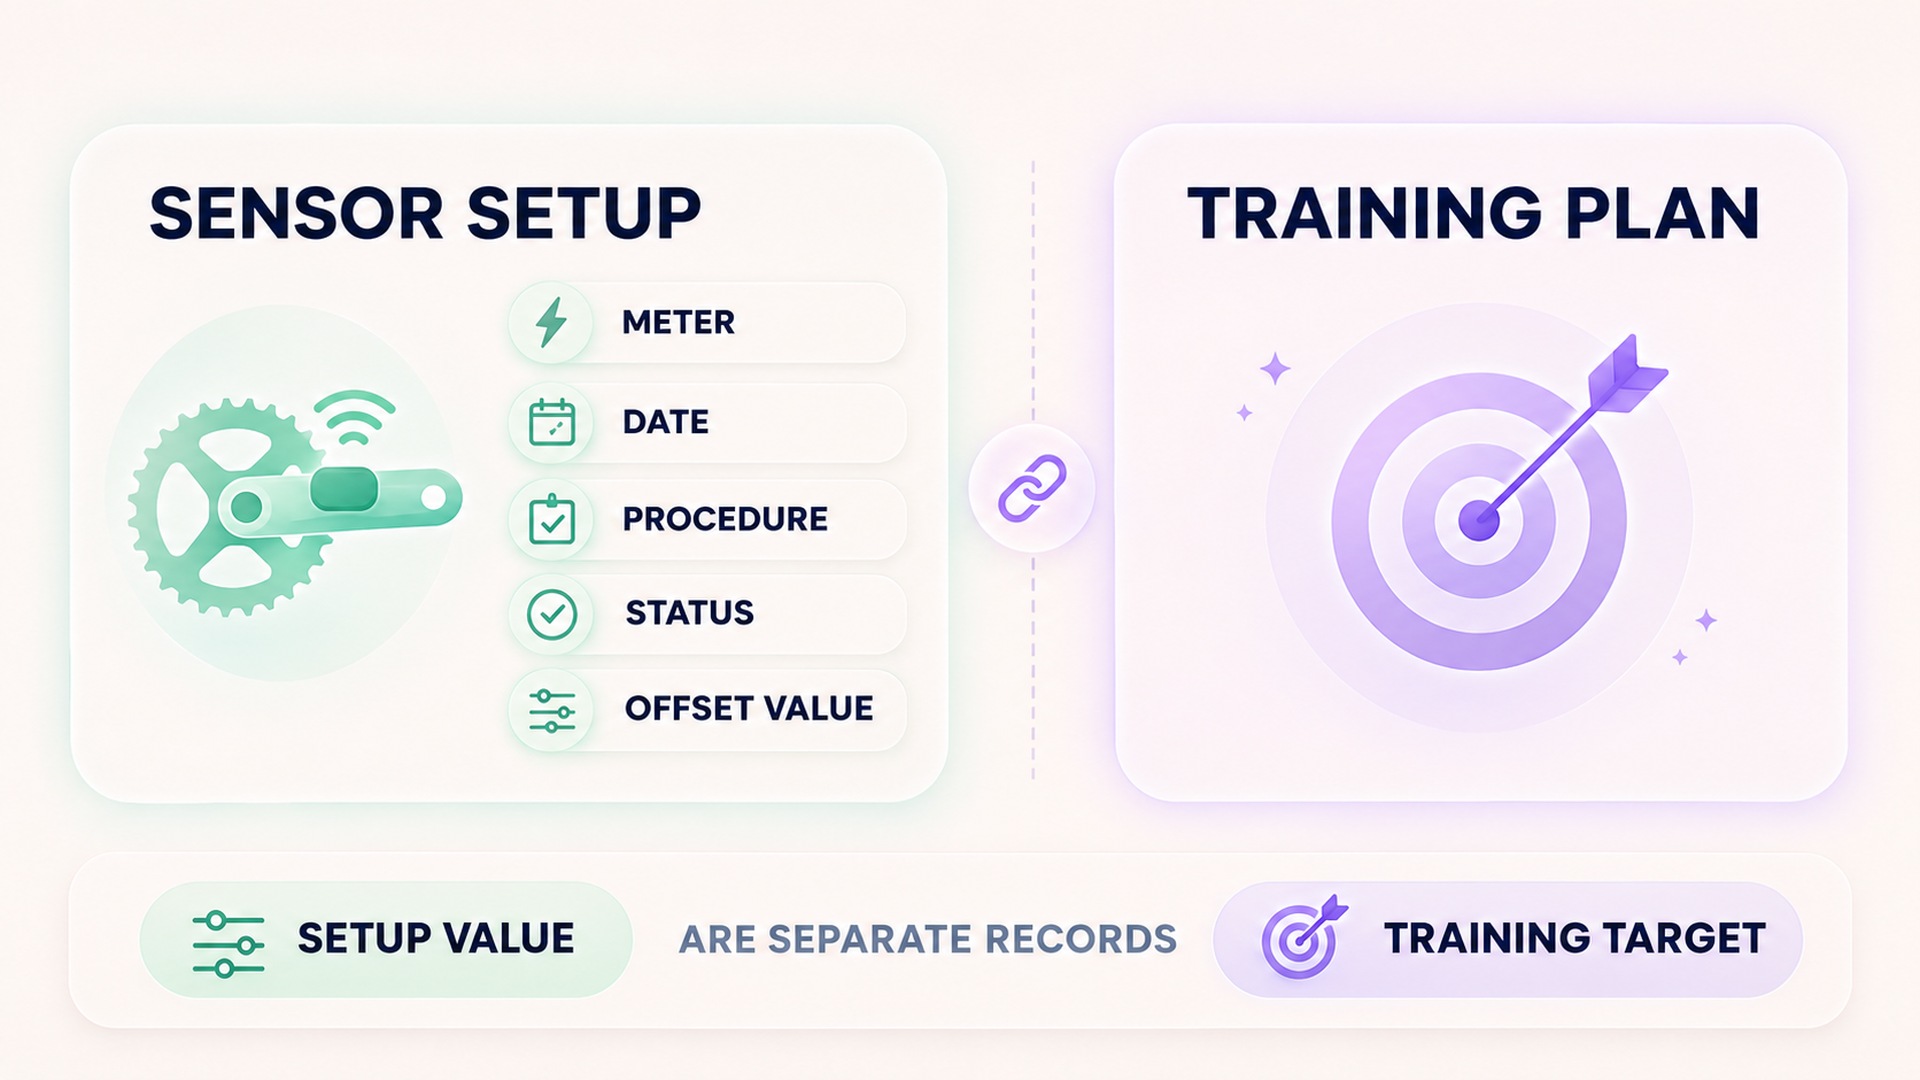
I keep that setup result separate from the workout target and the ride's power trace.
Manufacturers may call the procedure zero offset, zero reset, or calibration. The device explanation of zero-offset calibration describes updating a baseline before pedal force is measured. The displayed offset, if one appears, is an internal sensor value. It does not have to equal zero, and a large or small number should not be judged against a different model's range.
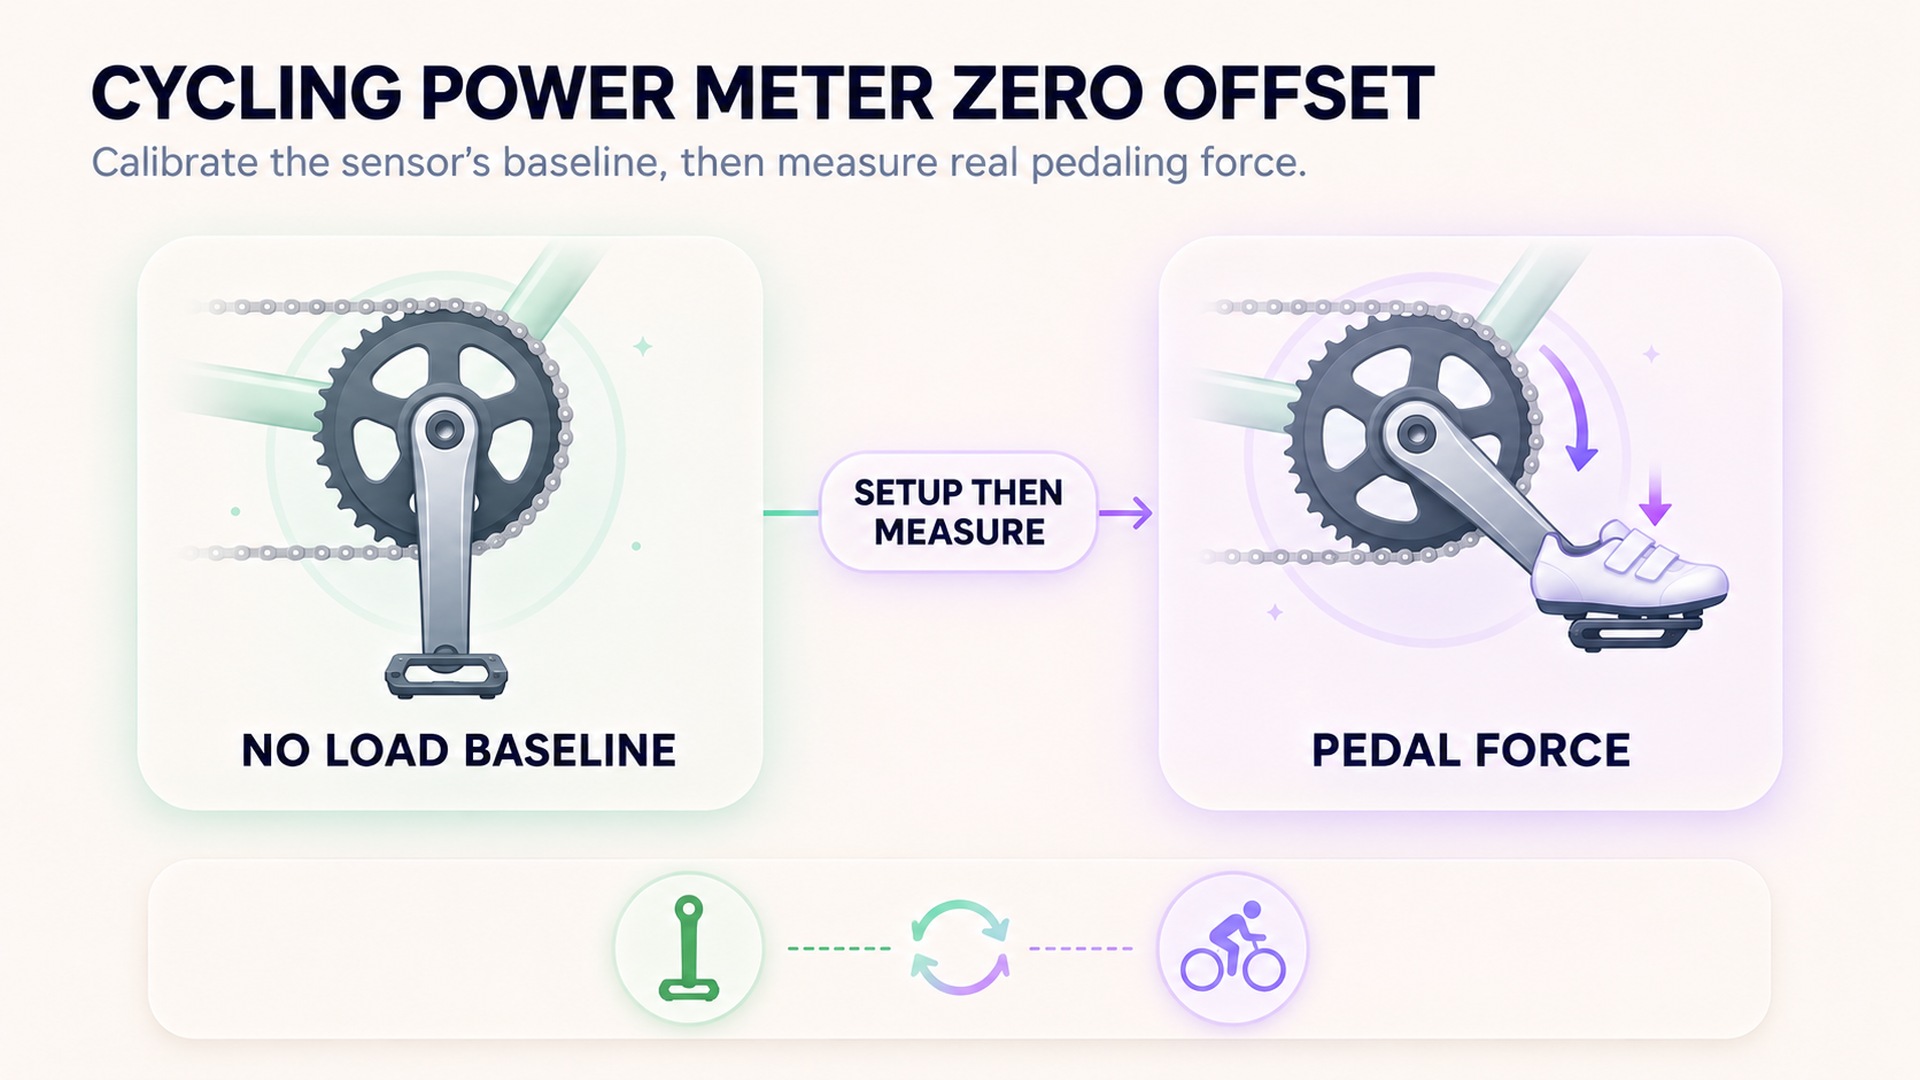
Separate the procedure from training targets
A zero-offset operation deals with the measuring instrument. It does not set a power zone, change a workout target, or alter the rider's intended effort. A training target may be expressed in watts, a percentage of a reference value, or another planning term. The zero-offset reading is a separate setup value returned by the sensor during a defined no-load condition.
The two can be confused because both affect a power display. If the sensor's baseline is stale or its setup conditions are wrong, the measured value may be less consistent. A rider may then suspect that a target is wrong, even though the two values describe different things. Preserve them in separate fields and do not edit a training target to make it match an offset number. If a power reading appears implausible after setup, use the manufacturer's troubleshooting steps and check the full measurement chain.
The manufacturer's calibration guide calls manual calibration a zero-offset procedure and outlines device-specific steps. A separate support explanation of power meter and trainer differences notes that distinct instruments can report different values even after their respective setup procedures. A zero reset is one part of the record, not a promise that two systems will agree.
Follow the unloaded setup instructions
Many pedal or crank systems require the bicycle to be stable, the sensor awake, and the crank positioned in a particular orientation with no weight on the pedals. The details are model-specific. A rider should follow the current manual for the exact sensor and head unit rather than copying a step sequence from another meter. Some systems support auto-zero; others require a manual request; some return a value while others show only a success or failure message.
The setup condition matters because the baseline is intended to represent no applied load. If a foot remains clipped in, a bag is pressing on the pedal, or the bicycle is moving, the reading may not represent the expected unloaded state. Do not try to compensate by pressing another button or changing a firmware value unless the manual instructs that action. If the process fails repeatedly, retain the error message and contact the maker or qualified service provider.
The power meter user guide's zero-reset instructions describe a stable bicycle, an awake meter, and a vertical crank position for that device family. Different apps and head units can expose the same command through different menus. These are examples of instructions, not a universal sequence for every sensor.
Record the context around the reading
A useful log identifies the meter model, the bike or crank installation, the date and time, the source used to request the procedure, and whether it reported success. If the system returns an offset value, keep the value and its unit or native format exactly as displayed. Record whether the crank was unloaded and oriented as required. If the meter had just been installed or removed, note that event too.
Temperature can matter for some devices, while other models compensate automatically. Installation torque and component changes may also affect the zero condition. Do not generalize one maker's recommendation to another. The setup guide for a different power meter family explains its required crank orientation and notes how an offset can vary with temperature and installation conditions. Use that source only for the meter family it covers.
Keep the original activity file and the separate setup note. If an application stores calibration history automatically, export or capture it only if useful for a later comparison. Do not replace the recorded power trace with an adjusted version unless the system documents the adjustment and preserves the original. A screenshot of a success message can provide evidence of the setup state, but it cannot establish that the meter's accuracy was independently tested.
Treat the returned number as model-specific
Zero-offset values are not a common scale across all power meters. Two sensors can report different baselines and still be operating within their own expected conditions. The number may also move after installation, temperature change, or a different setup state. A change alone is not proof of a fault. The relevant question is whether the value and status fit that model's documentation and whether the procedure completed as instructed.
Do not compare the offset against a number from a different sensor, even if both tools display a similar label. Some devices return a single value, others can return separate values for left and right sensors, and some interfaces display a negative sign for one side to distinguish the channels. Preserve the full display including signs and model identification. A generic workout log that stores only “calibration: 890” can become ambiguous when more than one meter is used.
When switching meters or head units, keep the pairing and setup source visible. A head unit may send the command while the sensor returns the reading. An app may use another connection path. The device guide on compatibility and returned offsets explains why a model-specific expected range matters. Apply the range only to the products named in that guide.
A dated note can also identify the firmware or application version when the process was completed. This detail is useful if a later update changes menu labels, connection behavior, or the way success is reported. It does not need to become a technical diary. Preserve only the version information that the device shows and keep it beside the sensor identity. If the same meter moves between bicycles, note the installation and pairing change rather than assuming that its earlier setup record describes the new configuration. This keeps the log useful without suggesting that every ride requires a custom experiment.
Use the setup record when comparing rides
Before comparing power from two rides, confirm which sensor measured each session, whether it was installed in the same way, and which setup process was used. A change in device, crank, pedals, battery, firmware, or head unit can change the measurement chain. The offset note can help identify a configuration change, but it does not tell you whether the rider became stronger or weaker.
Duration, averaging rules, cadence handling, and zero values are separate parts of the workout record. A power value from a short surge is not directly comparable to a sustained average without knowing the time window. A related explanation of cycling power records and effort duration covers why a power number needs the interval that produced it. Keep both the training interval and sensor setup context when reviewing a trend.
If a reading still seems unusual after following the manual, compare the full activity against the same sensor's history and inspect the error status. Check battery state, connection, installation, and any recent changes the maker lists. Do not independently adjust the baseline or rewrite the workout to force agreement with another instrument. A technician or the manufacturer can advise whether the sensor needs inspection or service.
A concise setup note
For routine use, record the date, meter identity, installation or hardware change, setup method, required crank position and unloaded condition, displayed result, and any failure message. Keep training zones and target watts elsewhere. That small separation makes later review clearer because the baseline procedure and the planned workout do not become one number.
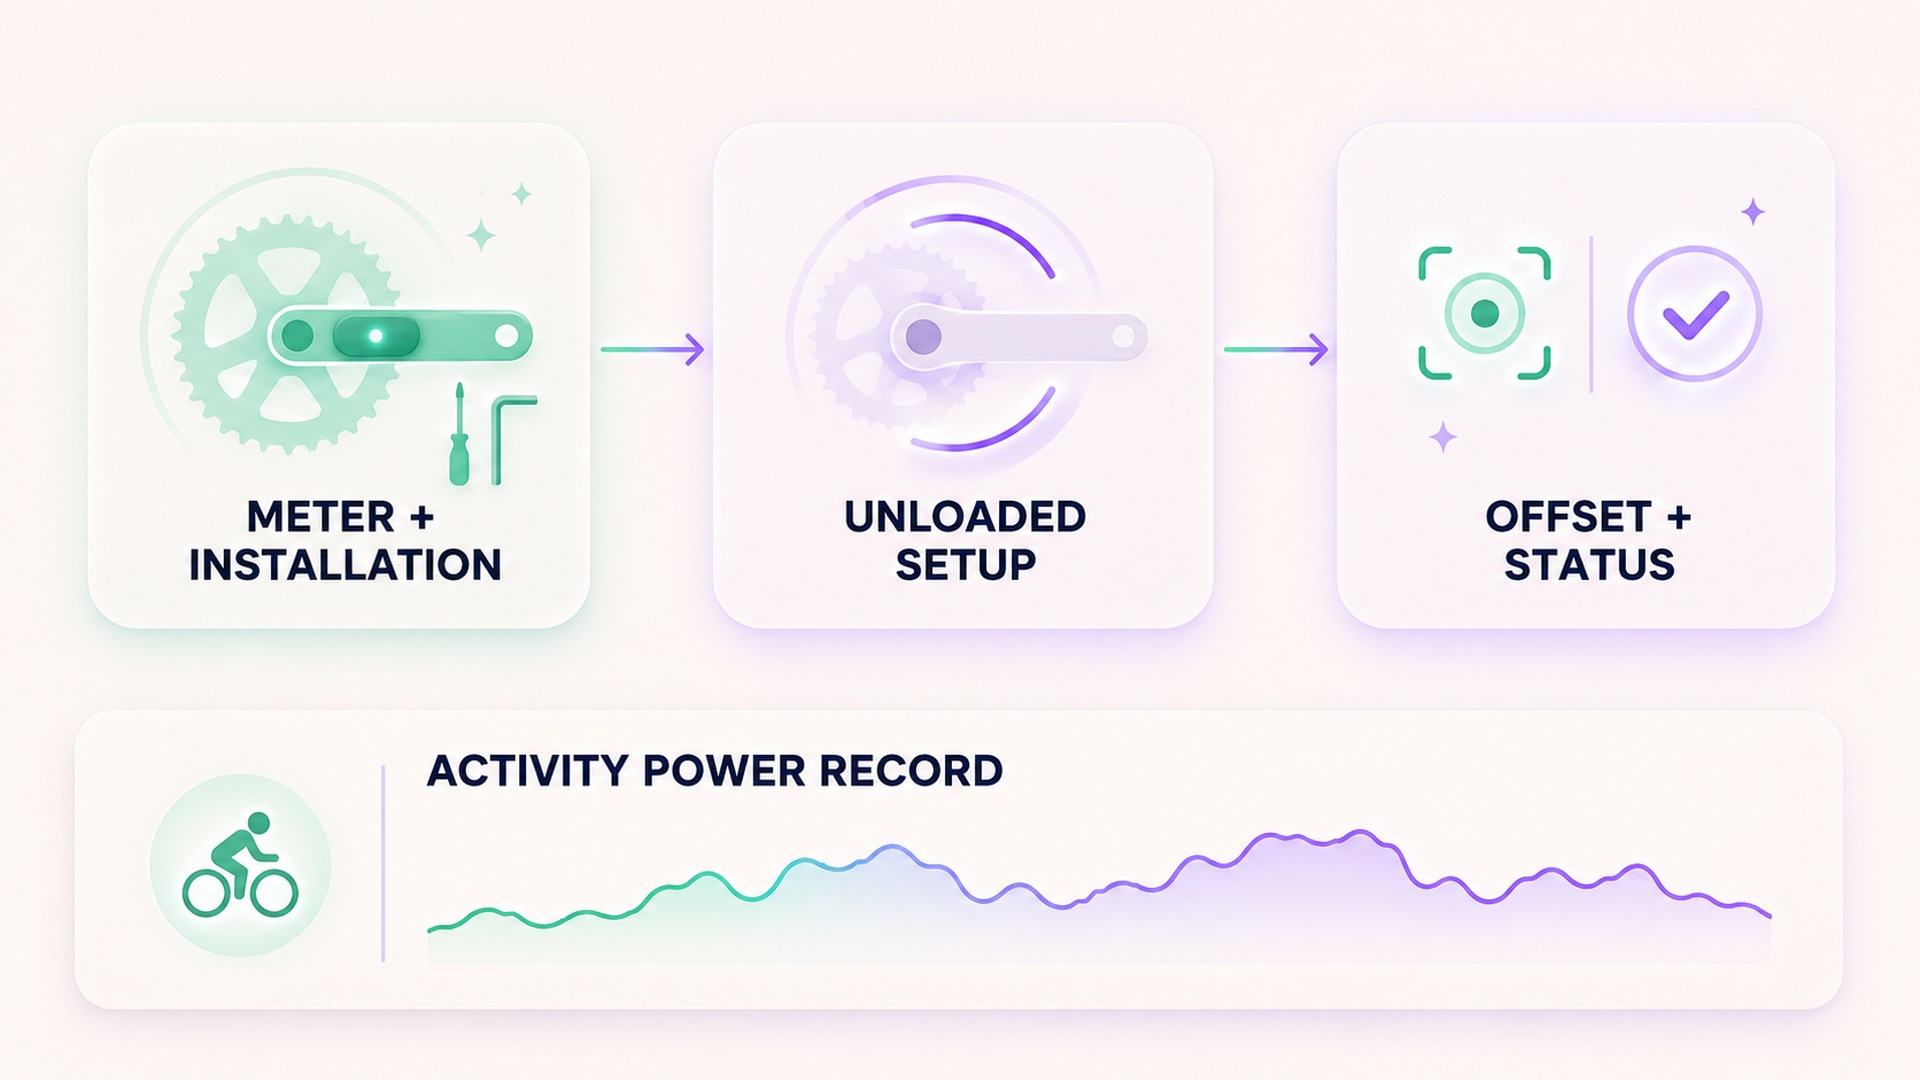
A zero offset is evidence of a particular setup action, not a full validation of the device. The manufacturer defines the procedure and acceptable response for the model. Preserve those instructions with the record, and ask for service guidance when the reading or status falls outside them. That is a more reliable basis for interpreting later cycling power than guessing at a correction from a single displayed value.
Frequently asked questions
Does zero offset mean the display should show zero watts?
No. The offset is the sensor's internal baseline under a no-load condition. Some devices return a number that is not zero; others show only a success or failure message. Follow the model's documentation.
Is zero offset the same as setting a power target?
No. Zero offset is a measurement setup step. A workout target is a training value. Keep the two in separate fields and do not adjust one to match the other.
Should I use the same zero-offset range for every meter?
No. Expected values and procedures vary by model. Preserve the sensor identity and compare the returned value only with the instructions for that device.
*This article is for informational purposes only and is not a substitute for professional medical advice, diagnosis or treatment.*
Related articles
Handrail support changes the context of a treadmill session
Treadmill handrail use can change the movement task even when speed and incline stay constant. Record whether support was light, intermittent, or sustained so session comparisons do not assume the machine measured details it missed.
Treadmill incline percentages are not angles in degrees
Treadmill grade percentages and angles in degrees describe the same slope through different relationships. Preserve the machine's displayed unit and source so a workout setting is not mistaken for a measured angle.